Building a Functional Bi-Level Deck: A Guide to Bi-Level Deck Construction
- Eudes Jimenez
- Apr 29
- 4 min read

Building a bi-level deck adds both style and functionality to a home. It creates distinct outdoor spaces for different activities, such as dining and lounging. This design also adapts well to uneven terrain, making it a practical choice for many properties. In this post, I will explain the key steps and considerations involved in bi-level deck construction. I will also share insights on safety and durability to help ensure your deck lasts for years.
Understanding Bi-Level Deck Construction
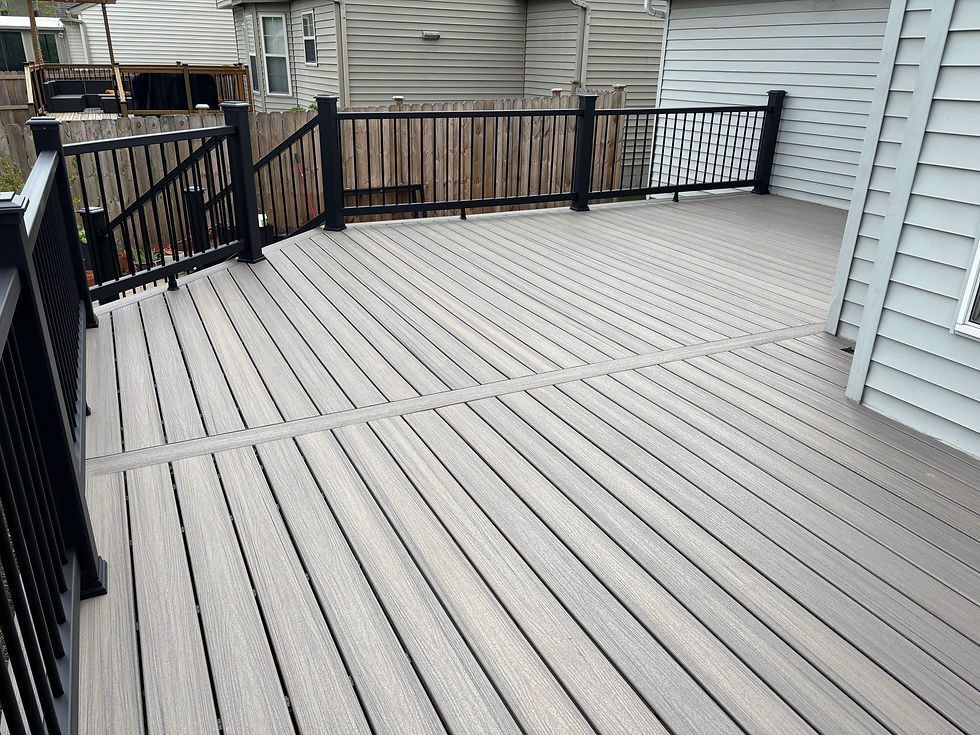
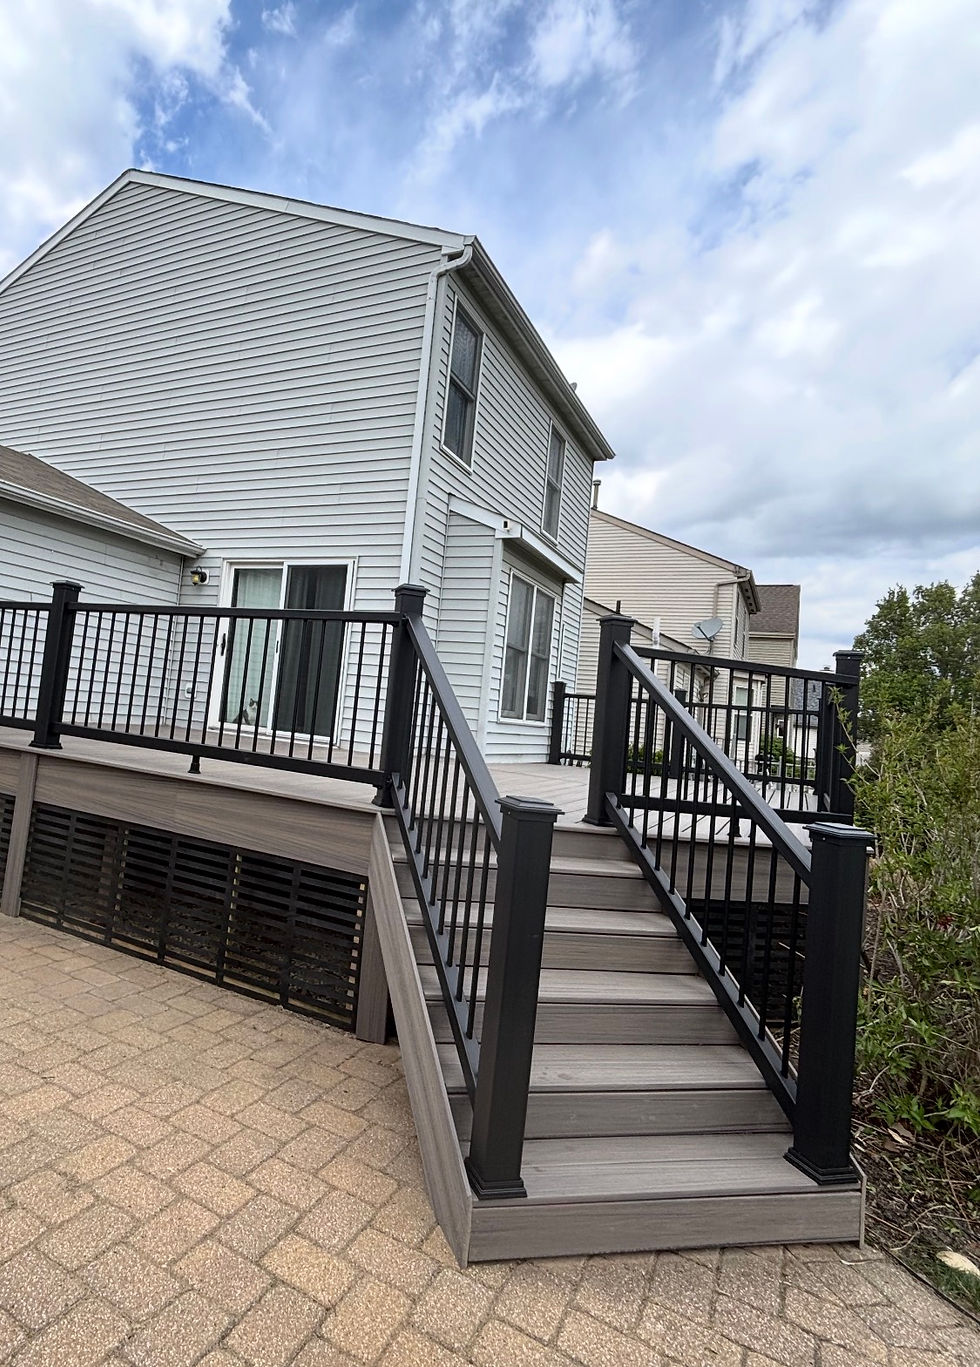
Bi-level deck construction involves creating two separate deck surfaces at different heights. These levels are connected by stairs or steps, allowing easy movement between them. The upper level often attaches directly to the house, while the lower level extends into the yard or garden.
This design offers several benefits:
Maximizes outdoor space by providing multiple functional areas.
Improves flow between indoor and outdoor living spaces.
Adapts to sloped yards without extensive grading.
Enhances property value with a visually appealing structure.
When planning bi-level deck construction, it is important to consider the layout carefully. The upper deck should be large enough for activities like dining or grilling. The lower deck can serve as a lounge or play area. Proper spacing between levels ensures safety and comfort.
Materials selection is also critical. Pressure-treated wood is common for framing, while composite decking offers low maintenance for surfaces. Railings and stairs must meet local building codes to ensure safety.

Planning and Preparing for Bi-Level Deck Construction
Before starting construction, thorough planning is essential. Begin by measuring the available space and sketching a detailed design. Consider the following:
Local building codes and permits: Check requirements for deck height, railing, and stair dimensions.
Soil and terrain: Assess ground conditions to determine foundation needs.
Sun exposure and wind: Position decks to maximize comfort.
Access points: Plan stairs and pathways for easy movement.
Utilities: Locate underground lines to avoid damage during digging.
Once the design is finalized, gather all necessary materials and tools. Typical materials include:
Pressure-treated lumber for posts, beams, and joists
Decking boards (wood or composite)
Concrete for footings
Galvanized fasteners and connectors
Railings and stair components
Safety gear such as gloves, goggles, and ear protection is also important.
The construction process generally follows these steps:
Mark and dig footing holes.
Pour concrete footings and set posts.
Install beams and joists.
Attach decking boards.
Build stairs and railings.
Apply finishes or sealants.
For detailed instructions on how to build a bi level deck, you can refer to this guide on how to build a bi level deck.
What Accounts for 90% of Deck Collapses?
Understanding common causes of deck failure is crucial for building a safe structure. Research shows that approximately 90% of deck collapses result from improper attachment to the house. This failure occurs when the ledger board, which connects the deck to the home, is not securely fastened or lacks proper flashing to prevent water damage.
Other frequent issues include:
Inadequate footings: Insufficient depth or size can cause posts to shift.
Poor fasteners: Using nails instead of bolts or screws weakens connections.
Rot and decay: Moisture exposure leads to wood deterioration.
Overloading: Exceeding weight limits stresses the structure.
To avoid these problems, follow these recommendations:
Use lag bolts or structural screws to attach the ledger board.
Install flashing above the ledger to divert water.
Ensure footings extend below the frost line and are properly sized.
Use corrosion-resistant fasteners.
Inspect wood regularly and replace damaged components.
Design the deck to support expected loads, including furniture and occupants.
Adhering to these practices improves safety and extends the life of the deck.

Choosing Materials and Tools for Durability
Selecting the right materials impacts the deck’s longevity and maintenance needs. Pressure-treated lumber is the most common framing material due to its resistance to insects and decay. For decking boards, options include:
Wood: Cedar and redwood offer natural beauty but require regular sealing.
Composite: Made from wood fibers and plastic, composite decking resists rot and fading.
PVC: Fully synthetic, PVC decking is highly durable and low maintenance.
Railings should be sturdy and code-compliant. Metal or composite railings provide durability with minimal upkeep.
Tools needed for bi-level deck construction include:
Circular saw or miter saw
Drill and impact driver
Level and tape measure
Post hole digger or auger
Hammer and framing square
Using quality tools and materials reduces construction time and improves results.
Maintenance Tips to Keep Your Bi-Level Deck Functional
Regular maintenance preserves the deck’s appearance and safety. Key tasks include:
Cleaning: Remove dirt and debris with a broom or power washer.
Sealing: Apply sealant or stain every 2-3 years to protect wood.
Inspecting: Check for loose boards, nails, or screws.
Repairing: Replace damaged or rotted wood promptly.
Checking railings and stairs: Ensure all components are secure.
Proper drainage around the deck prevents water pooling and wood damage. Trim nearby vegetation to reduce moisture buildup.
Following these steps helps maintain a functional and attractive bi-level deck for many seasons.
Enhancing Outdoor Living with a Bi-Level Deck
A well-designed bi-level deck expands outdoor living options. Consider adding features such as:
Built-in seating or benches
Planter boxes for greenery
Outdoor lighting for ambiance and safety
A pergola or shade structure on the upper level
Fire pit or grill station on the lower level
These additions increase usability and enjoyment. Thoughtful layout and design create a seamless transition between indoor and outdoor spaces.
By investing in quality bi-level deck construction, homeowners can enhance their property’s value and lifestyle.
Building a bi-level deck requires careful planning, quality materials, and attention to safety. By following these guidelines, you can create a durable and functional outdoor space that meets your needs. Whether you want a dining area, lounge space, or both, a bi-level deck offers versatility and style. For more detailed instructions, check out this how to build a bi level deck resource.

Comments